| |
| Step 5: Fill in Session name, date and times then click ADD THIS SESSION TO THE MEET. |  |
| STEP 6: Find your meet in the listing, click MEET CONTROL. | |
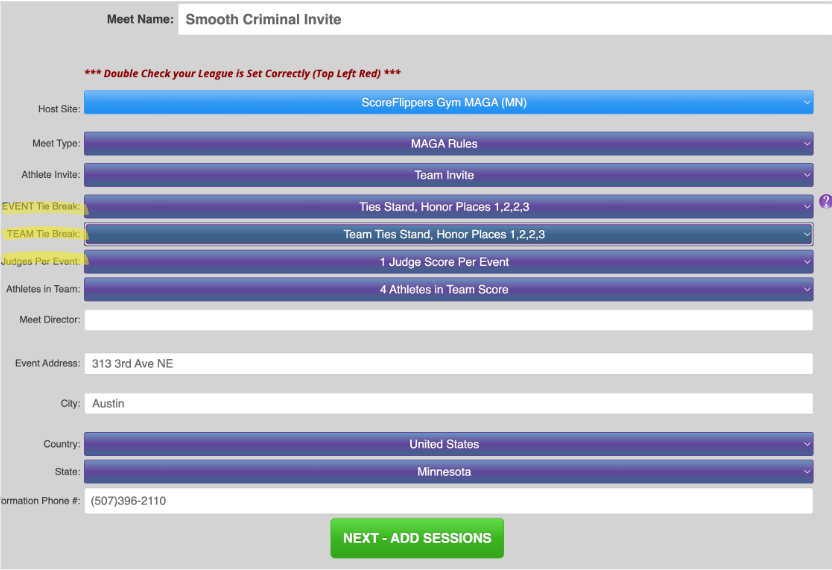
Step 7: Click EDIT SETTINGS & INFORMATION – from here you can control more meet settings and public information that parents can look at for meet info.
**Don’t forget to save your changes by clicking UPDATE MEET DETAILS at the top of the page. |  |
| Step 8: Find the button on the Meet Settings page that says GET QR CODE TO LIVE SCORING. This will take you to a PDF download of a QR code. The QR code is specific to your meet and can be scanned for easy access by coaches and parents. |  |
| Step 9: If you have a parent or non-coach helping with scores, you can Delegate them as a Meet Manager. (make sure they have a ScoreFlippers account, and then just add their email to the field) |  |
| Step 10: If you have a meet logo, you can upload from the Meet Settings page. Sometimes even your logo looks cool! |  |
| Step 11: If you have a meet flier or information you want the other teams or parents to have access to; you can upload them in the box PUBLIC MEET DOCUMENTS. |  |